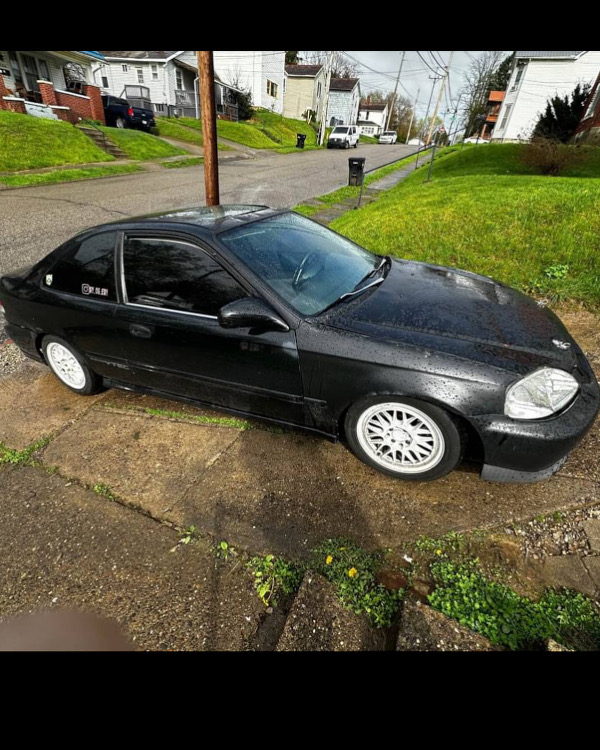
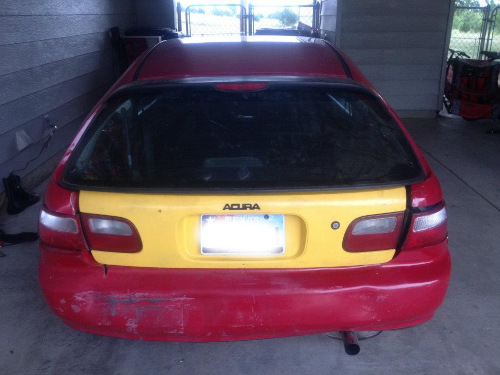
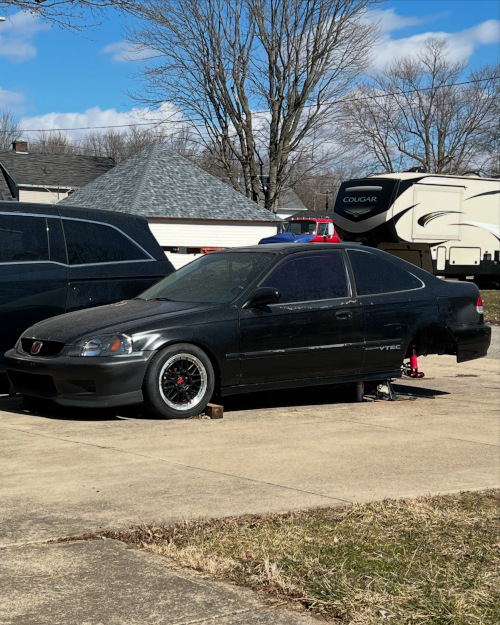
This was the day i bought it.
☕ Instagram: Enigma_EM1
—————————————————————————————————————————————————————————————————————
The journey started much later than present day. We will comeback to that later. This story is about how I came about to obtain the EM1 (2000 Honda Civic SI). I would start the hunt by looking for a Honda Fit one that I would plan to put a J35 into. This would all change when I started seeing the old school Honda’s on the market. My brother and I (Mario) would go to look for a project 92-00 civic of any kind. Our journey would not be without some curve balls, lets just say it will be a journey to remember for a lifetime. A car that would cause much confusion and fear would be an understatement.
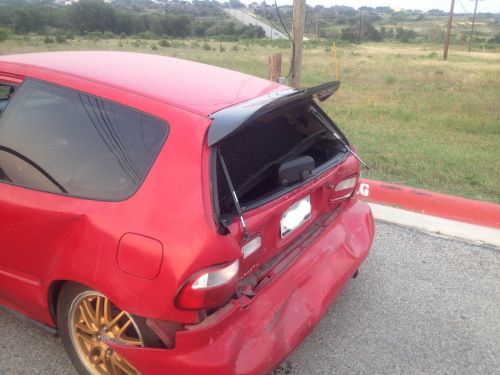
The year is 2012 and I would be returning from deployment for 12 months in Afghanistan an I saved up about 4k to get me my first EG hatchback I have been eyeballing half of my deployment that I had my wife at the time buy before I got home. I also had 2 EG hatchbacks I just ended up selling. So it is the first couple days of getting back and I am getting settled in with the family and my 9 month old son that was born while I was deployed. I finally got some time and a new battery in the car so I wanted to take the car for a spin, plus the wife need a cork puller for her wine. I fired up the fully built N/A B18 VTEC with GSR LSD transmission and 3” open exhaust and it made everything in my soul happy. I finally had the build I always wanted and the sound made the whole neighborhood know that it was rowdy. It seemed tuned to perfection made by the right hands, someone that loved Honda’s as I did. Filled with adrenaline yet respectable I put slowly down the road towards the store to get that cork puller (we know it was for me) not going fast just enjoying my first ride in the car. I giver her a little gas, clean out the junk from sitting the tires spin. No one around I quickly let off and put down the road to a stop sign to take a left towards the store. I sit there a little longer drive a little slower taking my sweet time just loving the feel of the car. So I turn left down the main road going 55, the speed limit for about a mile on the 4 lane road and I see the store I am going to on the left side of the road so I start by slowing down check my mirrors with my turn signal on jamming out to some tunes as the cars on the other side pass by I sit and wait until I see my opening. As soon as I see my opening and prepare to turn left after the Nissan Armada I look up into my rear view mirror to clear my approach when I see a blur of a car behind me going full speed. Wham! The car smacks the rear end of my 90’s hatchback going 50+ MPH. I hold onto the steering wheel and make sure the car stays in my lane because I know a big ass SUV wad heading my way in the other lane. I pull into the store parking lot to asses the car. I get out and turn to see my beautiful red, Canada VIN #, hatchback was a lot more hatch now. The whole rear end crinkled up to the rear windows. Shattered to say the least I got to drive her one day. Relentless to give up I would blue title the car and start to try and fix it and buy all the turbo parts needed. Went to the track a lot but it would end up having to be sold because my wife at the time wanted the “junk” gone. So away it went.
For the next several years I would fall into a depression not from just the car but life. See I was not only in the Army but I was Military Police. The things that I had to go through is haunting. But one of the things that kept me grounded was my car. Working on the thing thing, racing the thing tuning it and so on. The whole thing becomes a ritual at some point. You immerse yourself in the community as a whole. Finding new friends and bouncing ideas off others, meeting every week or month. Holding each other accountable when you no show at the same time checking how you are doing because you no show. The buddy system grows stronger the longer you spend with the people that has love for the same things, yes something as simple as a 25 year old car can bring so many people together. But it is more than that no? Family. Its them that you lean on in times your other friends and family cannot support you. For almost a decade I had a crew of some of the most supportive people. Diverse crowd in Texas underground racing. In 2014 I would end up in Louisiana in the middle of no where and no friends, no car just me and my truck. A Ford nonetheless. This is when is would take control of my life and refuse to be a victim to my PTSD and plan to move home divorced.
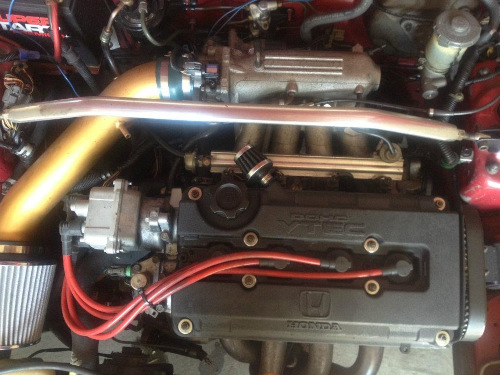
There was no plan at this point of any chance of starting a project as I had a POS Ford f150. I would eventually meet my high school sweetheart and remarry. Fast forward to January 2024. This is when I would have my neck surgery, fusion of two vertebrae and a cage with cadaver bone to hold everything together. My future seemed bleak at this point looking at the future and how hard it was starting to get to do a lot of the things I used to love. Refusing that future for myself I found my best friend Mario again and cars were going to be my life again. So the first plan was to get a Honda Fit but looking around the prices were so inflated and quickly switched to looking for an older car. The first one we went to look at was a EG hatch that needed work. When we pulled up to the warehouse in the around Norwalk, OH area we are met with a drone in a parking lot that resembled a junk yard. Looking around for the car we finally see it and let me tell you this thing was a hazard to sit in let alone drive but for 1500$ lets see if we can talk price. We pop the hood and see a d16 and cutting every where. At this moment I made my mind up for the most part. The dude came out with a crew of people with the drone we had seen prior. He introduces himself with “you prolly know who I am” “I am a you-tuber” we said nope and proceeded to talk about the car. The car would not start non of the lights worked. So I am really sure at this point about the car at this point someone else walks up and asks about the car, I tell him I don’t want it he than hands the title to the dude that walked up and said “do something with the car”. Knowing what we just avoided we hop in the van and start driving home when the sky opens up and down poring while pitch black out. The next car we go to look at days later around April 2024 Mario finds a true VIN EM1. Being Honda heads we go to look ASAP again in a downpour. Note, don’t buy a car in the rain. Regardless everything matched with the VIN but the engine, however it was still a EM1 coded engine just not to this car. The exhaust was missing from the header back, hood flying up damage but mostly looked in OK shape fo a 24 year old Ohio car. So for 3k I buy this car drive it home and park it but don’t start digging into the car the next couple days and let me tell you I am lucky to have made it home with the car after what comes next.
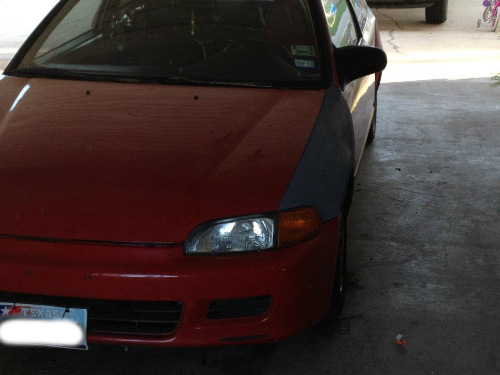
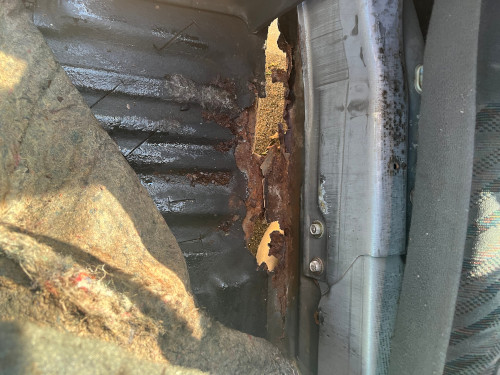
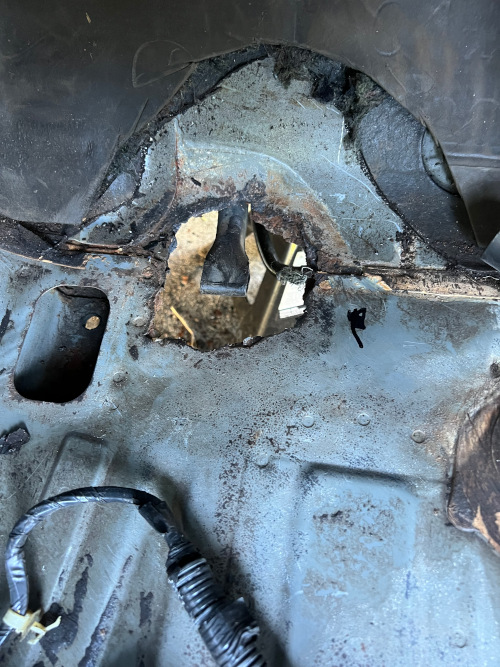
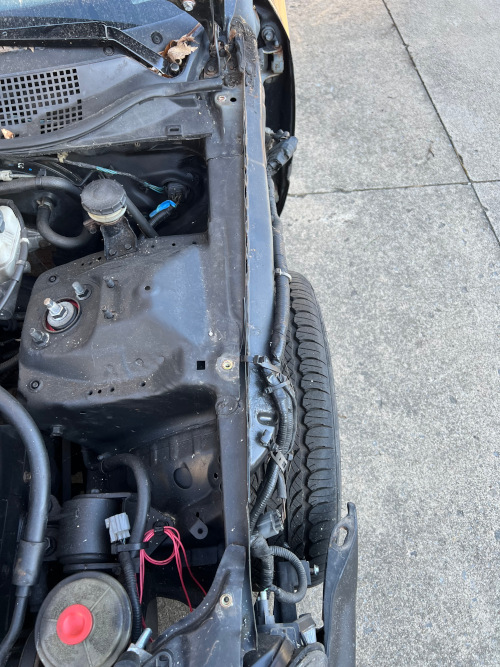
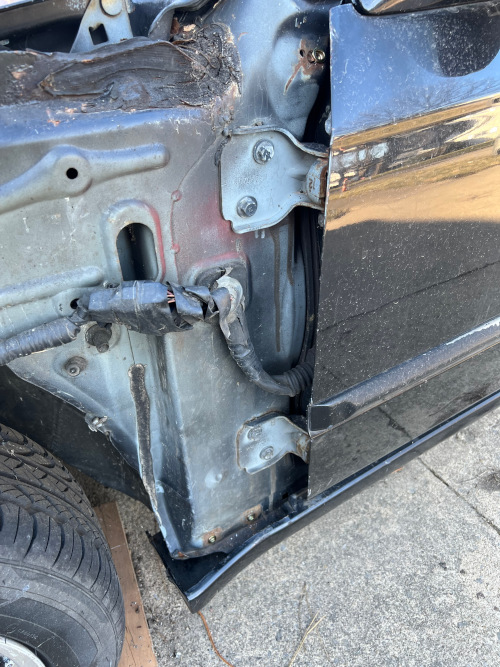
We knew that someone backed into the car and messed up the fender on the driver side. So when we started tearing the front end apart we quickly found that the cars hood flew up at some point causing a front and rear end crash. We found that the radiator support was mangled and had to replace it. It was missing 2 engine mounts and another not bolted in all the way. There was surface rust on every bolt under the hood. We also came to find that both rear break lines were cut and plugged. At that point I knew that I was going to have to do a mild restoration across the whole car. I start to inspect everything on the car at this point, as I am following break lines I run into a huge gas leak in the infamous spot under the car under the plastic line cover. I also find large holes in the floor board and notice all of the shocks are beyond repair. The rear calipers ended up being stuck which was to be expected. We came to the conclusion after the wreck it sat for years before it was on the road again. But this would not discouraged I would dive hard into the project.
April 2024
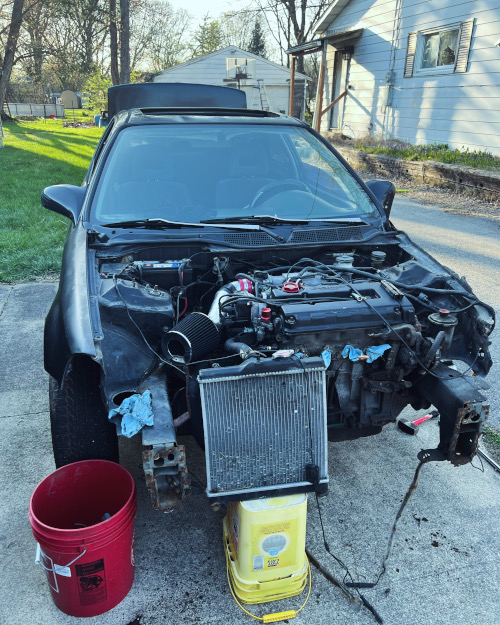
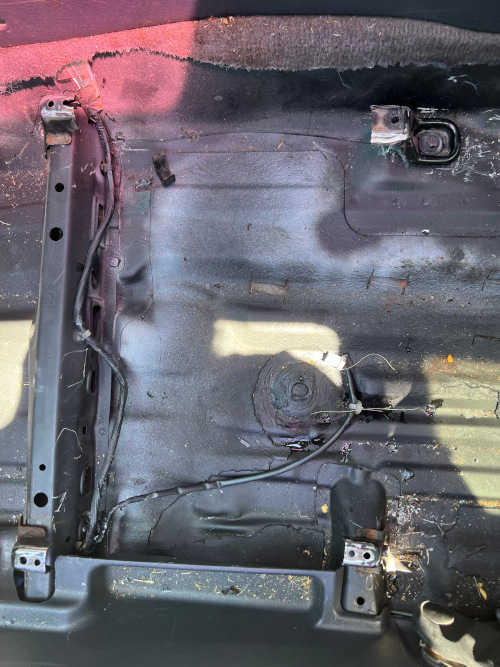
Radiator support removal.
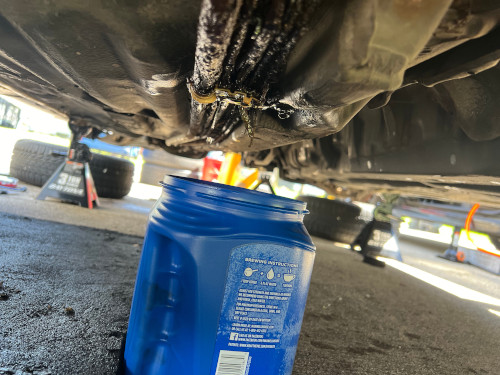
Fuel leak.
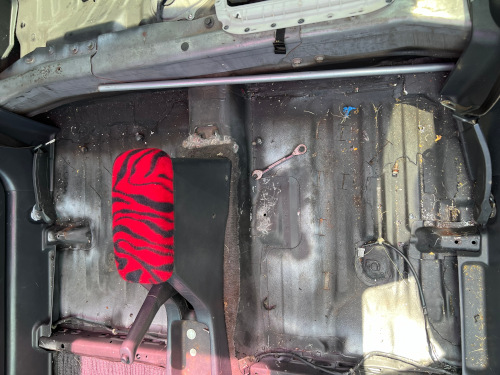
Inside door panels.
Hole in rear driver side floor pan.
Passenger front floor pan.
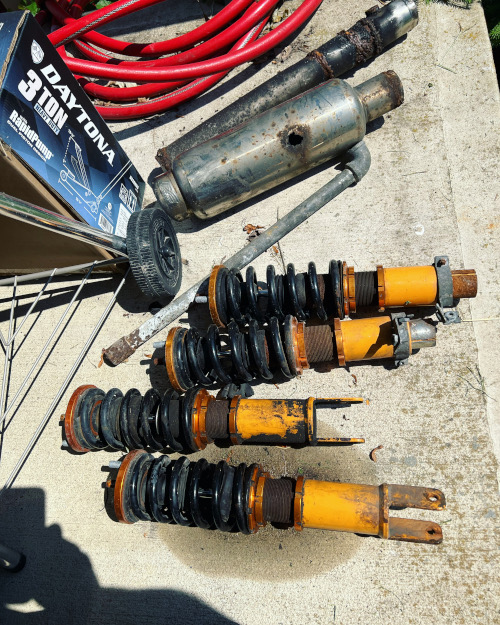
Old shocks.
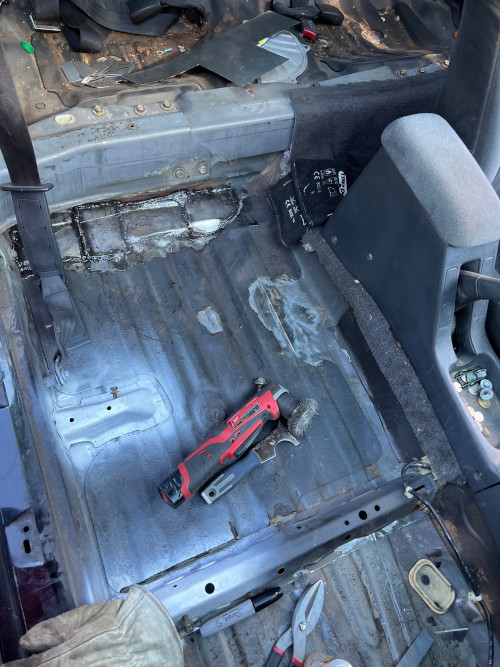
Welded rear passenger floor pans.
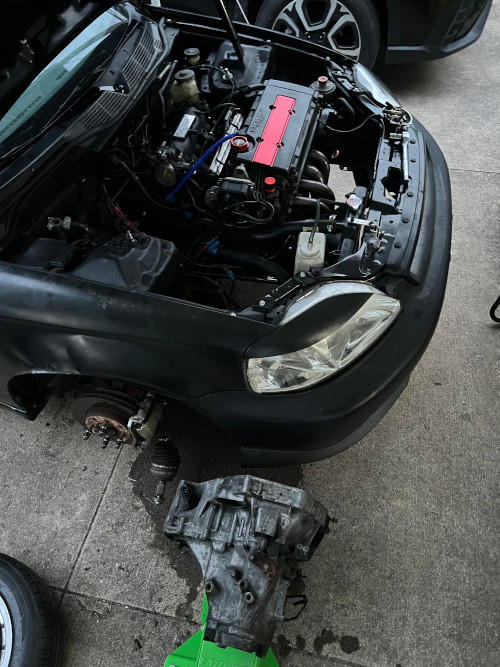
Transmission drop.
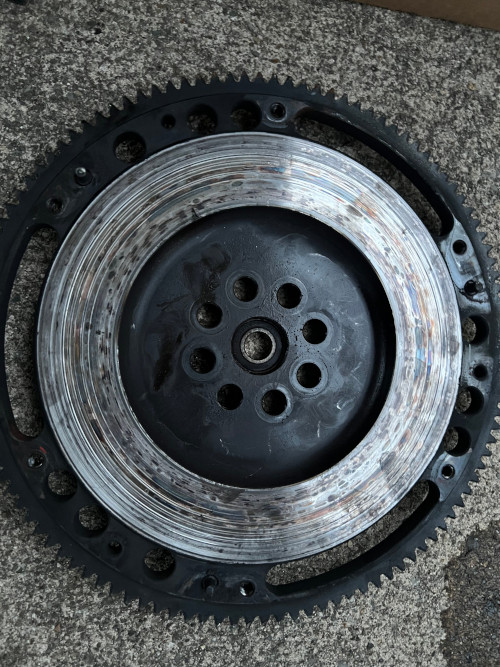
Roasted Flywheel. One bolt was backed out and moving free on the flywheel.
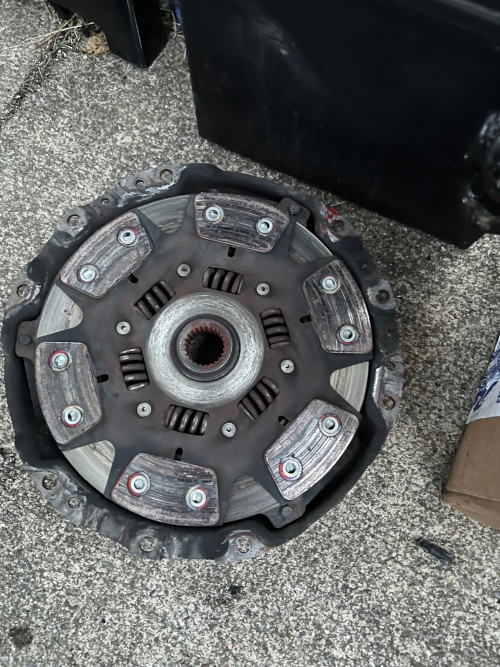
Roasted Clutch.
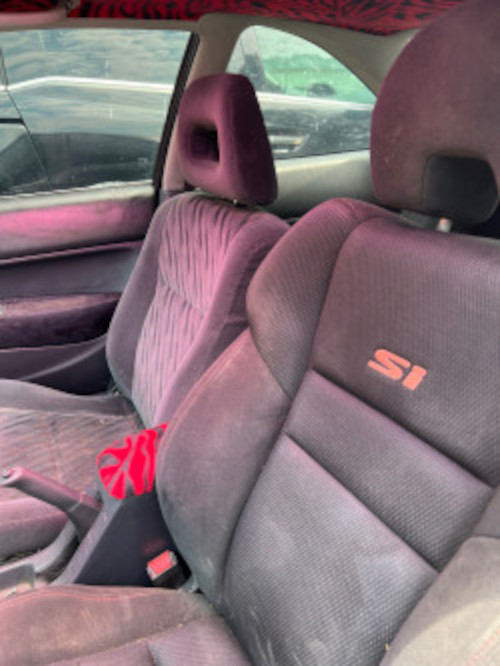
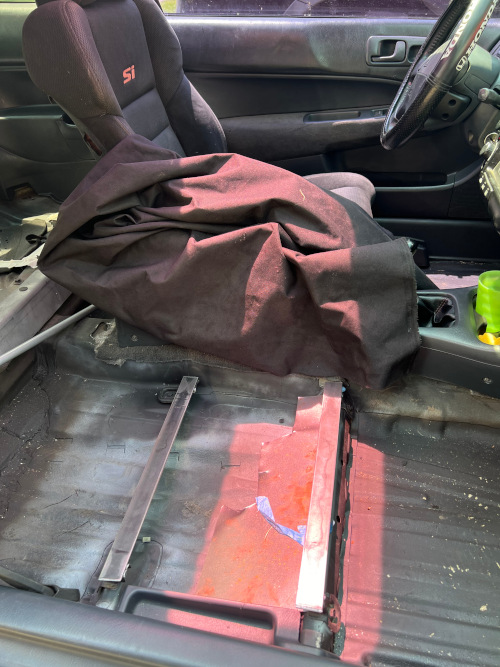
Seat fitment.
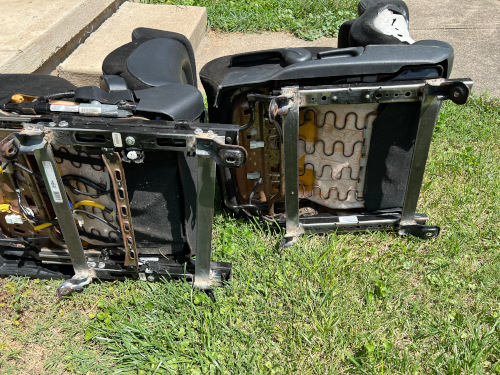
Gen 8 seat brackets off of Gen 8 seats.
EM1 seat brackets prepped to weld to bar steel.
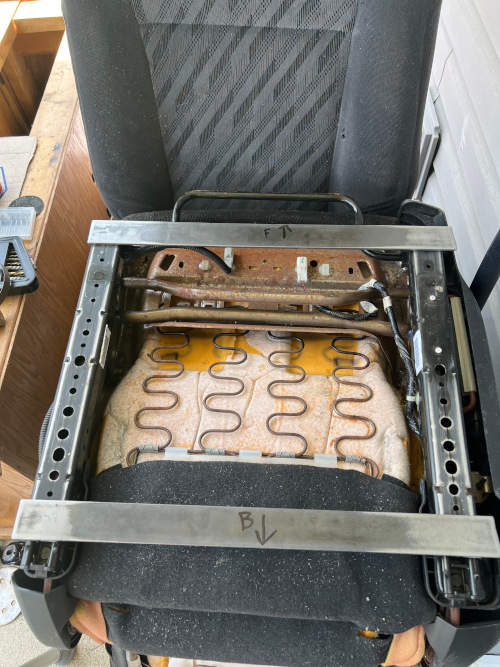
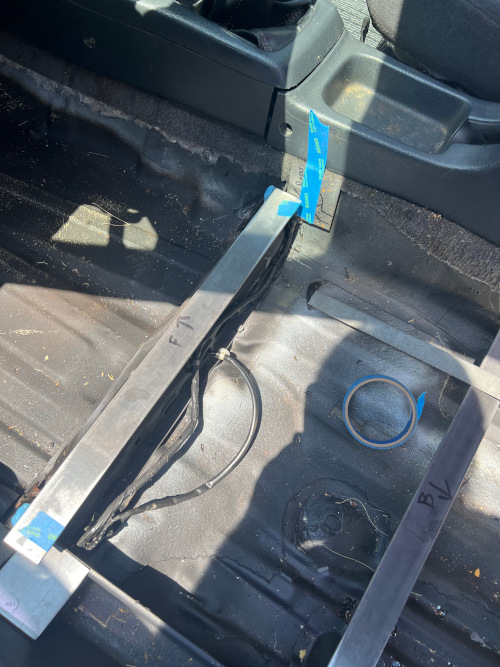

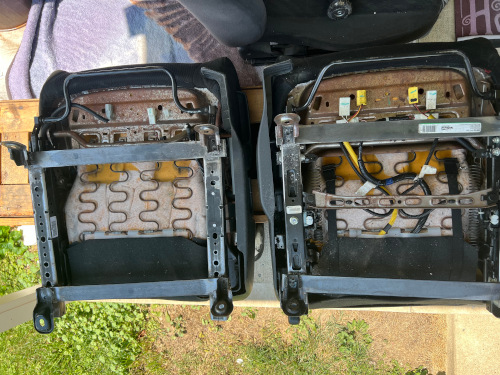
After taking off EM1 brackets, bolt to car, lat bar steel and weld, lay seats in car and tack weld. Take out and weld up.
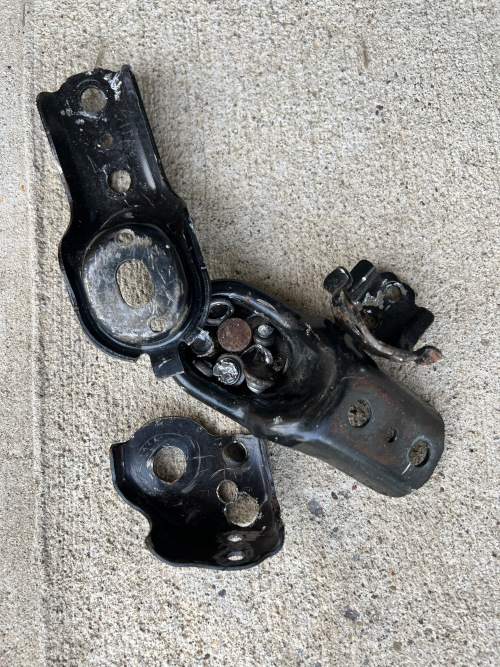
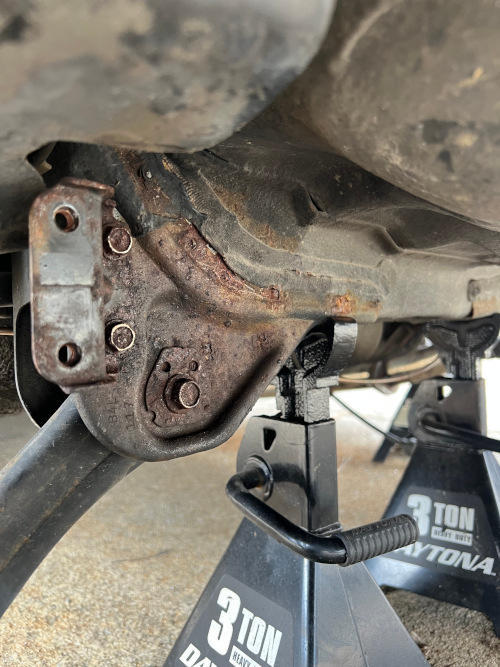
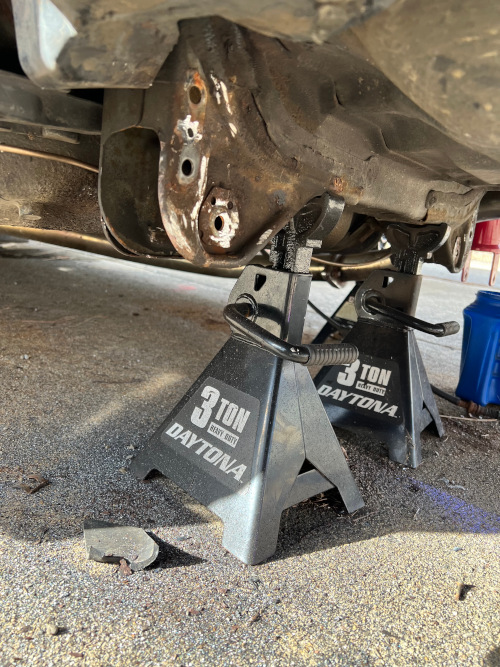
Every bolt on rear supports corroded and snapped.
2024
• April 12: The car was parked in the driveway.
• April 14: Tore the radiator support off, Front bumper, Both fenders.
• April 18: Found fuel leak, cut break lines, locked up caliper and engine mounts.
• April 25: All springs changed out with new exact replacements.
• May 8: Welded exhaust, holes in floor board, sunroof leak, trunk leak.
• June 8: Dropped transmission.
• July 8: Got used OEM fenders, hood, break booster and A/C parts.
• July 12: Seat swap.
• July 18 - August 18: Took a break from car.
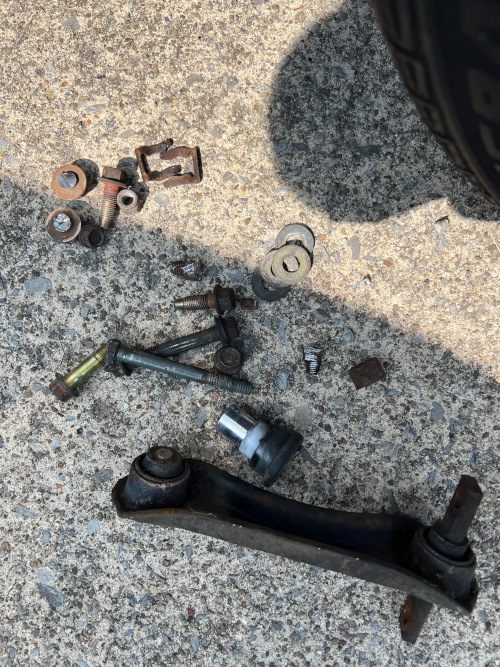
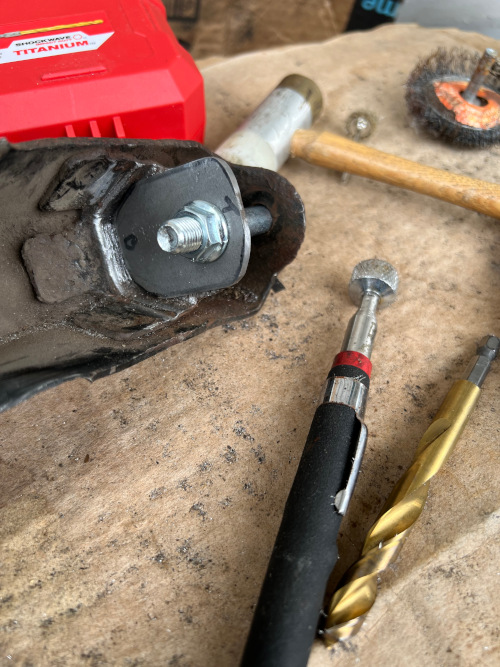
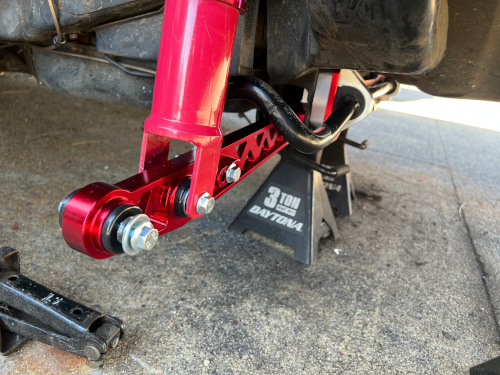
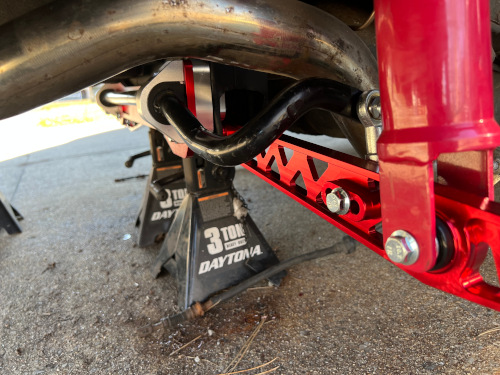
• Aug 18: Rear trailing arm refresh started.
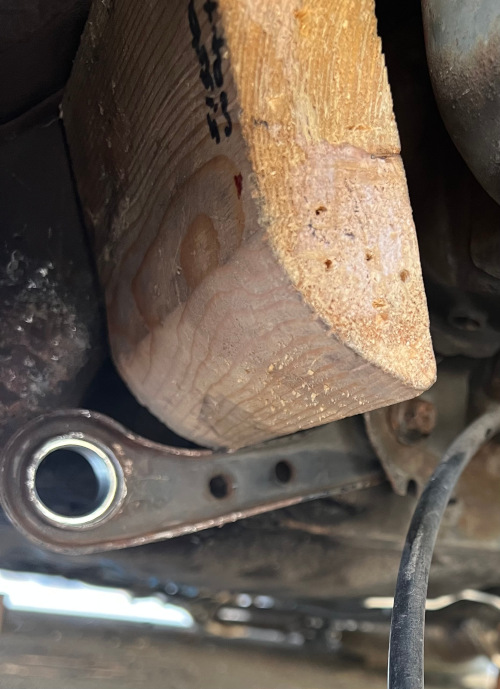
A lot of work in a small amount of time for someone disabled, but it was worth the pain I went through to get a head start before winter. I got both trailing arms off before winter hit and all the bushings removed but not with out issues. The passenger side trailing arm both of the bolts snapped that hold it to the body, the two main M12 bolts. Driver side came out pretty easy. The rust on the passenger side was worse than the driver side so I assume the car sat with the passenger side facing shade more often than the other side. Now February 2025 waiting for winter to finally break so I can start to rebuild the entire rear end with new components and rust removal/sealing.

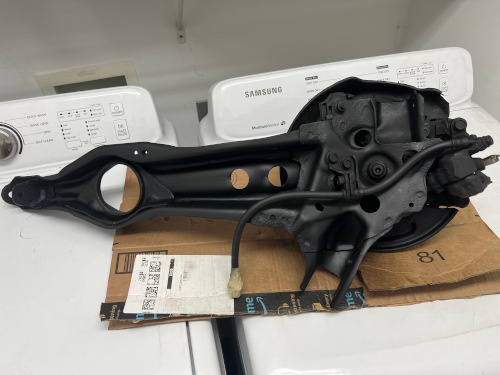
The before.
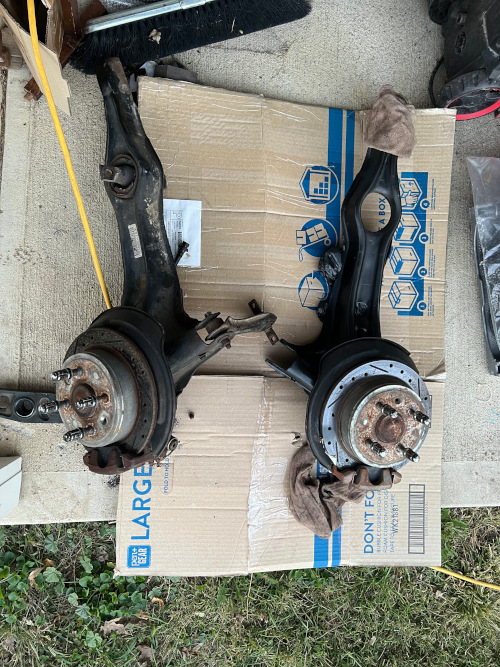
Both trailing arms out.
—————————————————————————————————————————————————————————————————————
February 2025
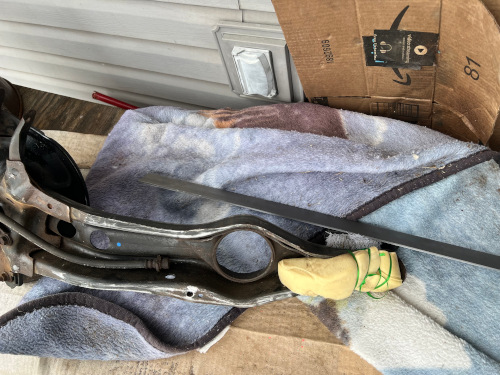
Waiting to weld the rear trailing arm up in some spots I burned through. It is 30 degrees and snowing. Feb 4th 2025 is weld day.

Prep for weld day. Small progress is still progress!
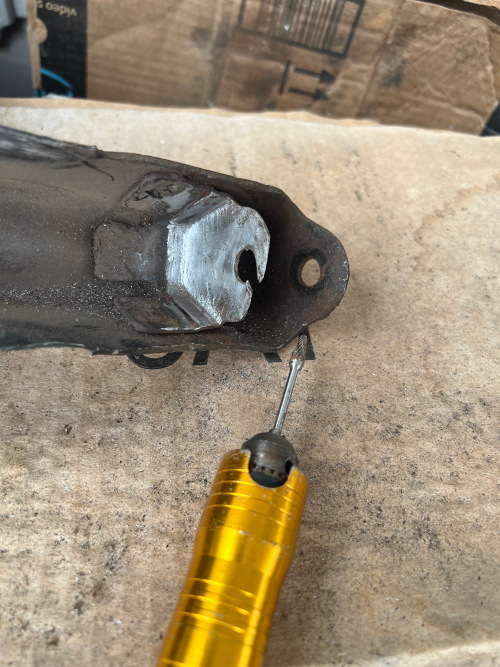
Prepped.
Mocked up and ready to weld.

Welded up now to clean up and paint.
;P The next plan is to go 5 lug.
5-Lug (5-114mm Bolt Pattern) Swap Parts List
Found a parts list of what you will need to swap to a 5-lug (5-114mm bolt pattern) setup. Hope this helps a few people—happy hunting!
Front Knuckle Assembly Options
Option A: 97-01 CR-V Knuckles
- Same part number as JDM DC2 front knuckles
- Accommodates 36mm axles
- Parts Needed:
- Complete with rotors and calipers (that’s all!)
- JDM ITR 36mm axles or outer 36mm CV joint on a stock CV shaft
Option B: Alternative Knuckles
- Knuckle Choices:
1. 92-95 Civic EX Knuckles
2. 94-01 Integra Knuckles
3. Del Sol VTEC (B16) Knuckles
- Additional Parts Needed:
- Hubs (choose one):
1. JDM ITR hubs with Civic/Integra bearings
2. CR-V hubs with bearings
3. Prelude hubs with bearings
- Calipers: 23T from ITR, CR-V, or Prelude
- Rotors: JDM ITR, CR-V, or Prelude
- Specs (Brembo 25464): 282.0mm diameter, 23.0mm thickness, 21.0mm min thickness, 47.1mm height
Rear Assembly
- Base: 4-lug disc brake rear trailing arm assembly with hub
- Parts Needed:
- Type R hubs
- Type R calipers & brackets (98-01 ITR, excl. 1997)
- Type R brake hose (OEM 4-lug hose works too)
- Mazda 626/Protégé axle nut (93-02), discard Honda rear washer #3
- Rotors:
- Brembo 25550: 259.7mm diameter, 9.0mm thickness, 8.0mm min thickness, 48.3mm height
- Fits: 97-01 ITR, 02-06 RSX
- Wheels: ITR rims or any 5-114mm bolt pattern rim
Poor Man’s 5-Lug Setup
Front Assembly (36mm)
- 97-01 CR-V:
- Spindle/knuckle
- 5-lug hub
- 36mm wheel bearing
- Brake caliper & brackets
- Rotor
Rear Assembly (Using 92-00 4-lug Trailing Arm)
- DC2 Type R Option:
- Type R 5-lug hub
- Type R wheel bearing
- Type R calipers & brackets (98-01)
- Type R rotor
- Mazda 626/Protégé axle nut (93-02), discard Honda washer
- DC5 RSX / EP3 Si Option:
- Type S 5-lug hub
- Type S wheel bearing
- Type S calipers & brackets
- Type S rotor
Front bearings that work are:
44300-S84-A02 (RSX/Accord)
44300-S47-008 (CRV and lots of others)
The rears, all you need is the Integra Type R rear hub (bearing is already part of it). If they ask you for a year, say 2000 or 2001 (last year of ITR). Don’t want to accidentally get the 4 lug ITR hub.
RSX front calipers bolt right onto the CRV knuckle if you also have RSX hub and rotor.
RSX rear calipers bolt up, but your e-brake cables will not connect. I’ve heard rumors you can just buy RSX/EP3 e-brake cables to fix this.
ITR rear brakes work perfect with stock DISC e-brake lines. If your car didn’t have discs before, get the e-brake lines for the disc version of your chassis.
RSX-S brake caliper with TSX rotor. TSX rotor is 2-3mm thicker (extra material on visible side) than RSX-S so I needed a 1mm spacer for the caliper bracket to center the rotor. An RSX-S rotor would have gone right in without spacers.
Found this on another forum—hope it’s useful!
—————————————————————————————————————————————————————————————————————
Rust reformer on trailing arm after welding.
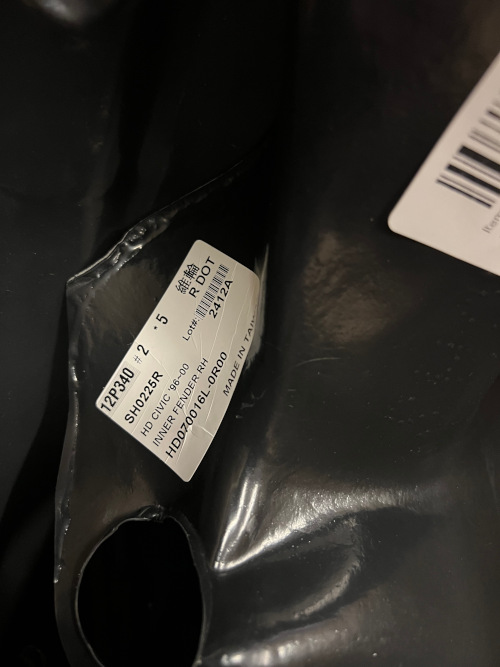
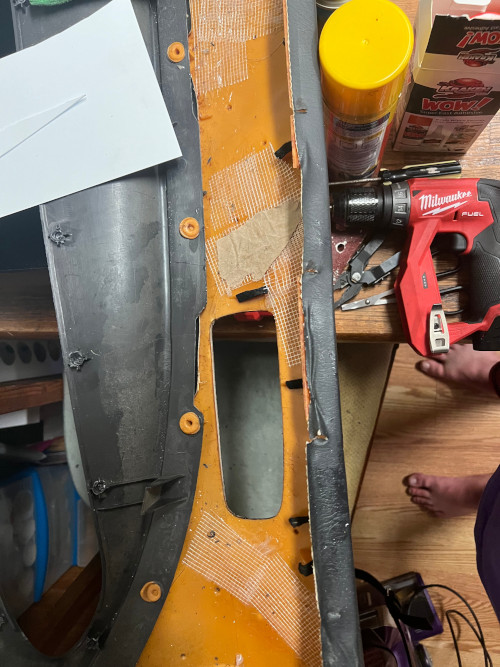
New inner fender. Other is on the way.
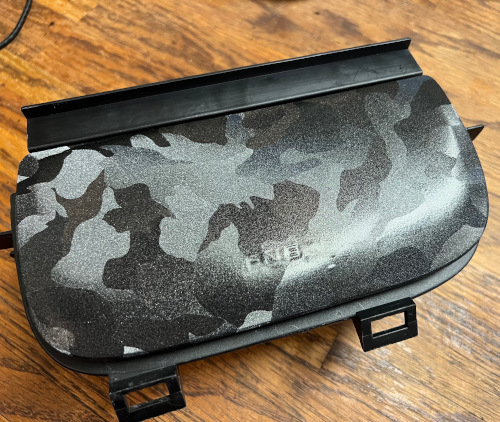
Wrapped cup holder. Did not do the best but first wrap so.
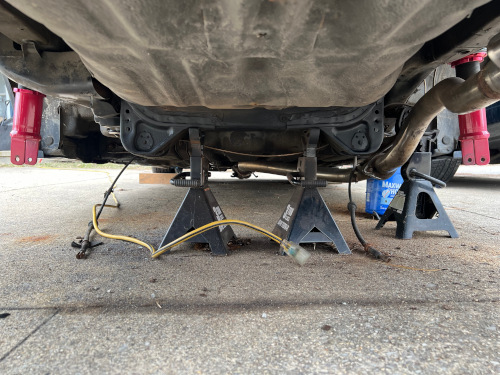
Before removal of LCA and sway bar.
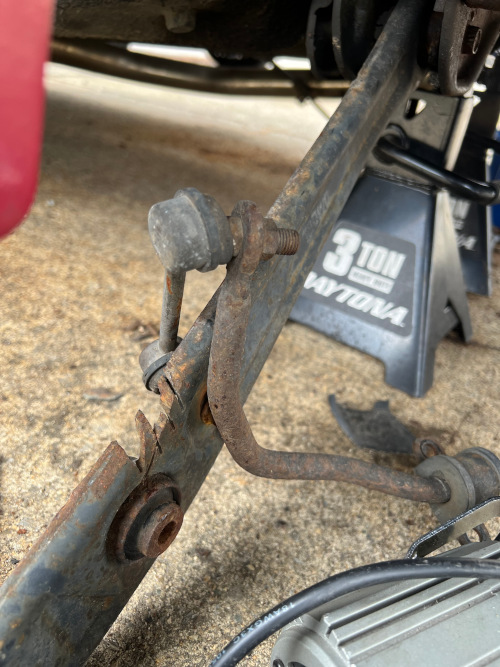
Old LCA.
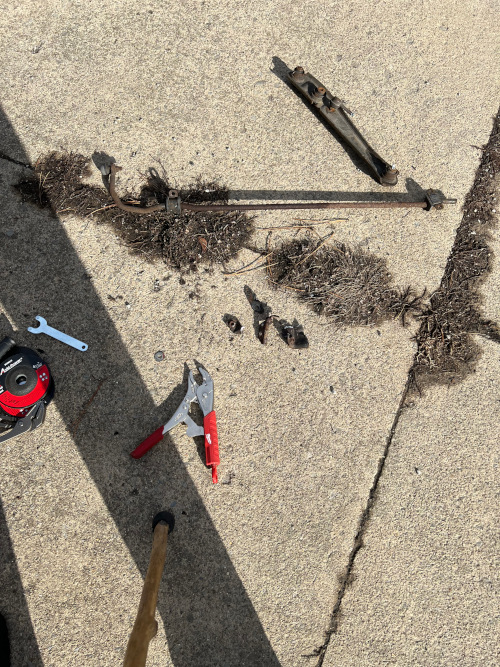
Finally got everything off.
After removal of LCA and sway bar.
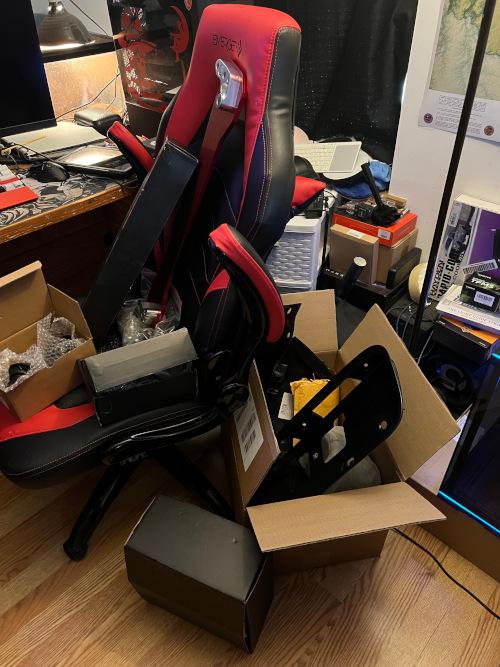
My gaming area is turning into a parts store.
All cleaned up and ready for new.
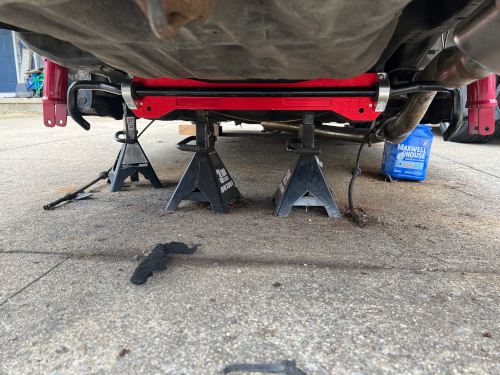
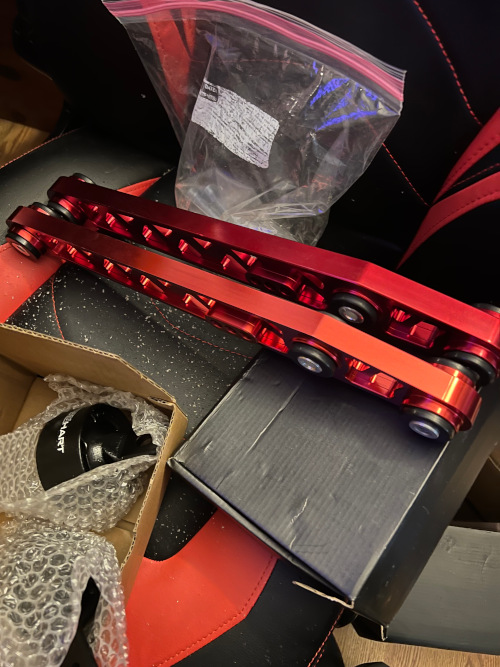
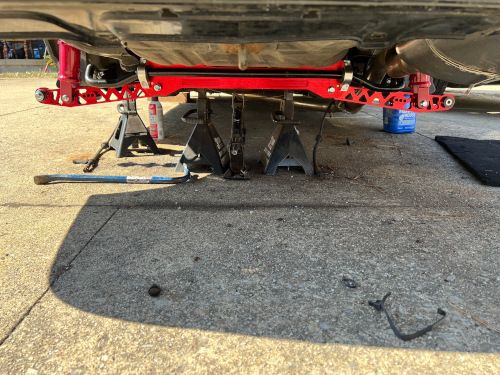
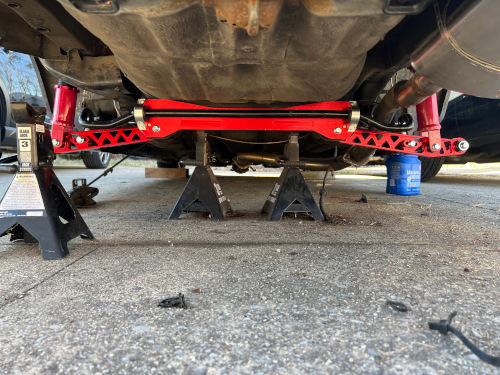
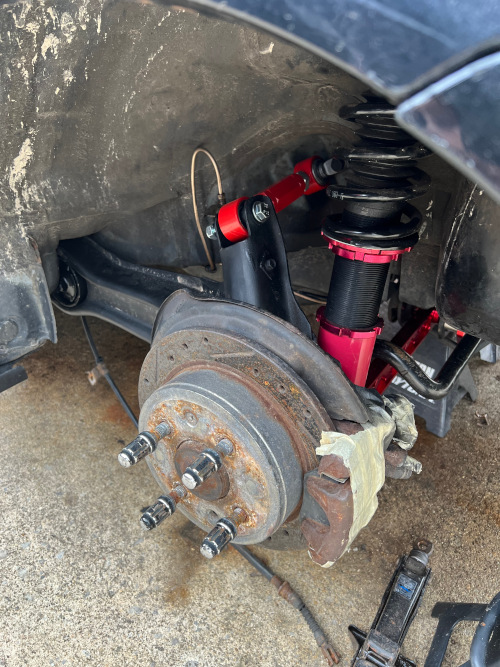
Sub frame brace test fit. (sway bar is upside down).
Looking much better. Still have to flip sway bar. (got too cold and rainy)
LCA’s going in soon. Had to run to the hardware store.
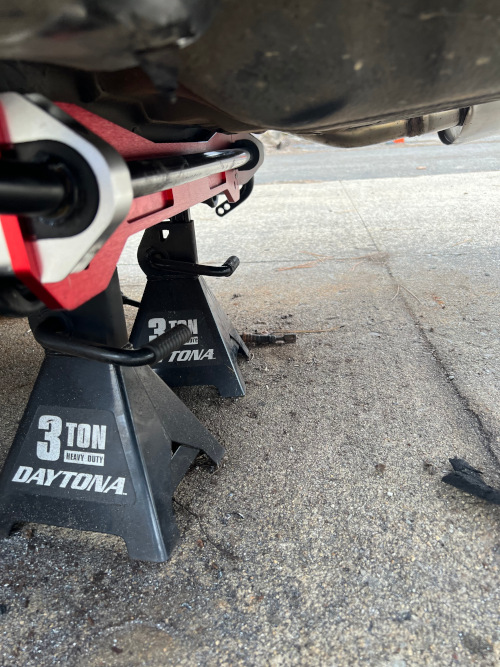
Cannot wait to get it off the stands!
Getting there. Need hardware.
New threads for the fenders
Some more threads.
Driver side done.
Passenger side done.
All done until trailing arms go on. Still have more to do under the car before they go on.

Things are coming together. Still much to do.
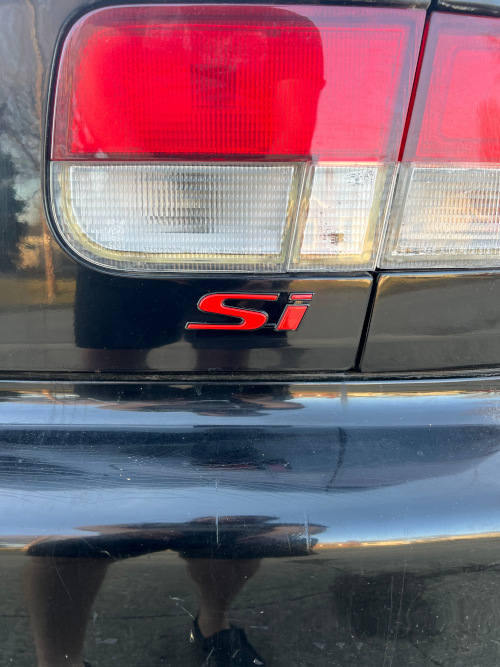
New badge looks good so far.
Sanded old grill that I finally found. It had plastidip on it.

Repainted with a rattle can.
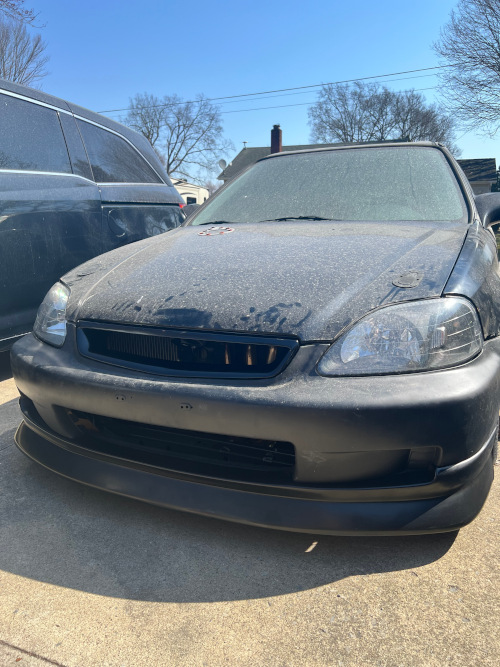
Grill back on. Man she needs a bath.
Old bushing out.

New bushing in.
Driver side trailing arm on finally!
MORE TO FOLLOW!